How to Clean Your Printers at Home
Have you noticed that sometimes you see ink matches or lines on your paper while printing? Do you often notice blemishes in perfection or marks on your recent print jobs? This happens when your printers’ print heads become obstructed. There is no need for concern! All you need is a quick cleaning procedure to help you get clear and crisp prints. In addition to checking its functions, you should regularly clean your printer, especially if you purchased a laser printer during a sale or with a discount.
If you have a modern printer, the job is already finished! Modern printers clean themselves internally after each print job. The print head’s tiny holes can, however, be penetrated by dust particles and dried ink blocks, which will result in white or streaky lines rather than colored ones.
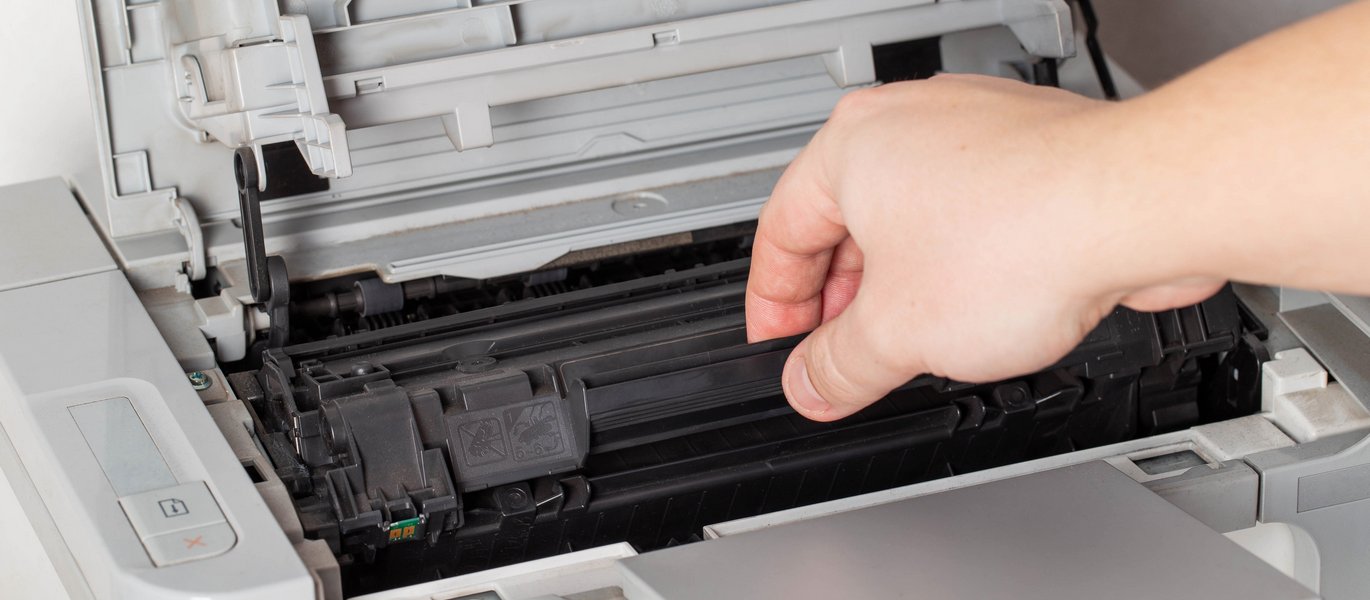
Switch Off the Printer Before Removing the Cartridges
Remove the cartridges from the device by carefully following the instructions in the printer’s body. In most circumstances, the cartridge gap will automatically adjust itself once the front of the machine has been opened. The cartridges can be taken out at this time. Once the cartridges have been securely removed, pull the plug and switch off the printer.
Clean the Ribbon and Cartridges
After removing the cartridges, you will discover clocks with extra ink on the print heads. Massage the cartridges with a square of paper towels and cleaning spirit to get rid of any leftover ink. Set them down on a fresh paper towel to stop the cartridges from leaking onto other surfaces after clearing obstructions. After wiping the surface of the cartridge, you must take care of the ribbon. The ribbon—a critical printer component—must be cleaned often to ensure peak efficiency. Clean the ribbon’s remaining debris by gently wiping it with a paper towel dipped in cleaning spirit. This delicate task necessitates attention. The ribbons are easy to break and expensive to repair or replace. Keeping in mind that too much cleaning spirit can harm the ribbon and that a modest amount should be used will be beneficial.
Clean the Cartridge Holders’ Inside
The housings or gaps around the cartridge are frequently greasy or covered in dust because they hold the cartridge in place. Gently wipe the spirit over the cartridge holder with a soft cloth, paper towel, or cotton swab. Also, clean the interiors of the complex. A similar routine can assist you in getting your printer serviced quickly.
Lubricate the Stabilizer Bar
A stabilizer bar is visible, running right through the printer’s center. This stabilizer bar allows ink cartridges to access the paper from all sides. To enable the stabilizer bar to function smoothly, it is vital to lubricate the stabilizer bar regularly. You’ll need cotton swabs and a few drops of printer oil to do this.
Reinsert All Parts and Dust Off Exteriors
After removing any discernible debris such as grease, dirt, grit, or dust, install the cartridges and then close the printer head. As directed by the maker, perform a cartridge re-alignment check-up, and clean the machine’s body. After that, you may attach your printer.
Although you may clean your printer regularly at home, getting it professionally cleaned once a year is strongly advised. Contact knowledgeable experts for your printer repair needs who will be able to detect the issue and fix it for you efficiently. When cleaning the printer, avoid harsh cleaners and only use model-specific printer fluids.